Smart View Timeout Error : The Request Timed Out. Contact your Administrator to Increase netRetryCount and netRetryInterval.
Objective: The idea of the post is to automate the updating of Registry Entries required to increase the Timeout for Smart View.
IE7 and IE8 & IE9 have a 30-second timeout when waiting for
communication from the server. When adding form data, Smart View can take
longer than 30 seconds to get confirmation from the Planning server that the
changes were made and saved. A similar constraint exists for Essbase data.
Pre update
registry Settings:
Open the command prompt window by clicking the
start button
>Search bar >Key
in regedit navigate to the below
path and check the existing settings you might not have” KeepAlive,ServerInfo & ReceiveTimeout”
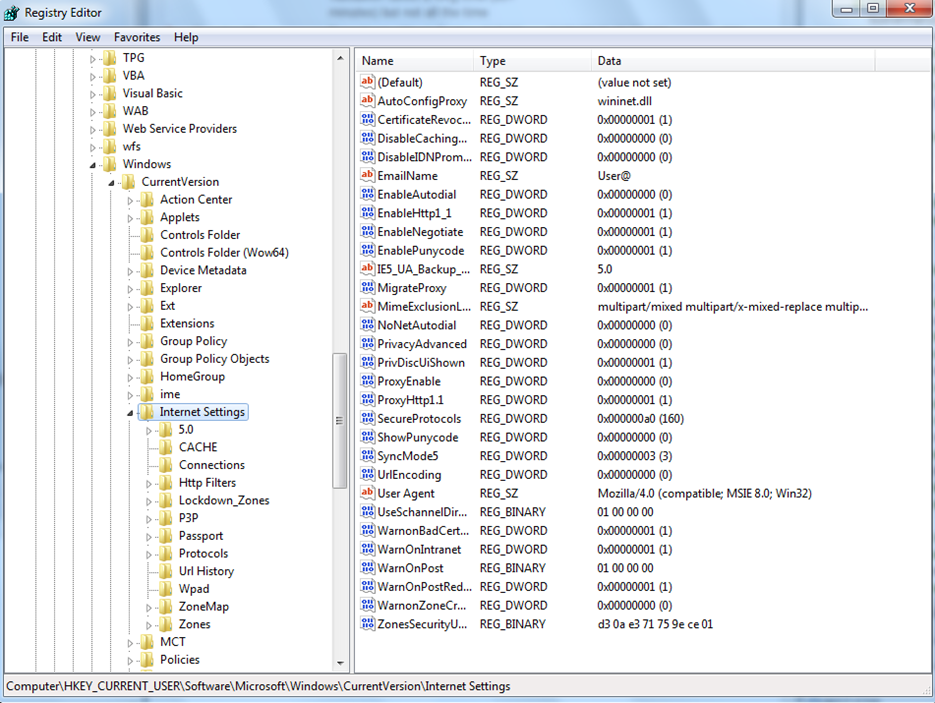
HKEY_CURRENT_USER\Software\Microsoft\Windows\CurrentVersion\InternetSettings
Automated Resolution
Steps:
- Create a file called “smartviewfix.reg”
- Edit the file in notepad.
- Add the below to the file to update the timeout to 15 mins
Windows Registry Editor Version 5.0
[HKEY_CURRENT_USER\Software\Microsoft\Windows\CurrentVersion\Internet
Settings]
"KeepAliveTimeout"=dword:000dbba0
"ServerInfoTimeout"=dword:000dbba0
"ReceiveTimeout"=dword:000dbba0
- Save the file and exit.
- Double-click the “smartview.reg” file. It will add
these registry entries to the user’s profile.
Following the below screenshot when you get the below warning, ignore it and click "Yes"

Click on “OK” Tab
 Restart your PC\machine.
Post Update Validation:
HKEY_CURRENT_USER\Software\Microsoft\Windows\CurrentVersion\InternetSettings
Check time out settings after timeout
update

- Create a file called “smartviewfix.reg”
- Edit the file in notepad.
- Add the below to the file to update the timeout to 15 mins
- Save the file and exit.
- Double-click the “smartview.reg” file. It will add these registry entries to the user’s profile.
Following the below screenshot when you get the below warning, ignore it and click "Yes"
Thanks!!